Pro Tips for Flawless Foundation Matching
Master shade, undertone, and finish with pro-backed steps—so your foundation melts into skin, looks true in any light, and wears flawlessly all day.
Understand Your Undertone
Nailing a flawless foundation match starts with decoding your undertone—the subtle hue beneath your skin's surface that doesn't change with sun exposure. Look at your wrist veins: a greener cast often indicates warm undertones, a bluer or purplish cast suggests cool, while a mix hints at neutral. Try the jewelry test too: gold tends to flatter warm undertones, silver complements cool, and both look balanced on neutral. Be mindful of nuanced categories like olive (a muted green tint) that can make typical warm shades look too yellow and cool shades too pink. Test with a plain white or soft cream fabric near your face; if white brightens you, you may lean cool, while cream can flatter warm. Remember that overtone (surface color) can be uneven from redness or hyperpigmentation, so prioritize undertone over temporary color shifts. A correct undertone lets you choose shades that seem to disappear into the skin, creating an imperceptible, true-to-you base.
Test Shades in Natural Light
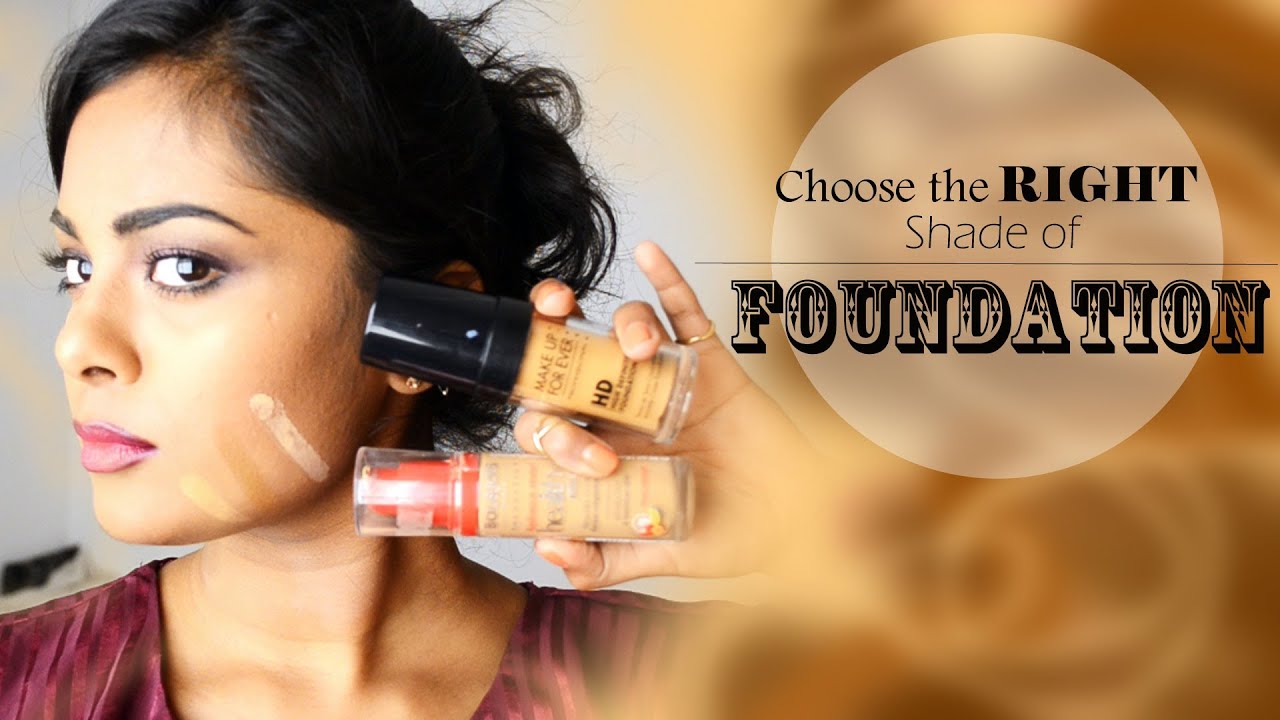
Your environment can sabotage shade selection, so rely on natural light whenever possible. Avoid judging color under fluorescent or yellow indoor bulbs that distort warmth and depth. Swatch along the jawline and slightly onto the neck, placing three close shades—your best guess, one lighter, and one deeper—then let them sit for a minute to observe any oxidation. The right shade should blend seamlessly into both face and neck without creating a demarcation line. Skip the back-of-hand test; skin there differs in tone and texture. Step outdoors or near a window, and check in indirect daylight and a mirror. If photos matter to you, snap a quick picture with and without flash to see whether the formula produces flashback or dullness. Consider exposure from bronzing or recent skincare; self-tanner and treatments may shift your surface tone slightly. A careful, light-handed stripe test reduces guesswork and helps confirm a natural, undetectable match.
Fine-Tune With Mixers and Smart Layering
Perfection often requires tweaking. Keep shade adjusters on hand—yellow or golden mixers to warm, blue or olive mixers to mute oversaturated orange, and red or pink adjusters to cool overly sallow tones. A drop of white lightens depth without shifting undertone; a deeper neutral can add dimension when your base runs too light. To avoid over-correction, add mixers sparingly and test on the jawline. You can also subtly shift the look with sheer layers: mix a touch of moisturizer to soften a heavy formula, or add a warm liquid bronzer around the perimeter to balance a slightly light center without turning the entire face too deep. If redness peeks through, try a green corrector under foundation rather than piling on more coverage. Strategic concealer placement—under eyes, around nostrils, or on spots—lets you keep the base thin. Layer thoughtfully so the undertone stays intact and the finish remains skin-like.
Match Beyond Color: Texture, Coverage, and Finish
Even the perfect shade can look off if the finish or coverage clashes with your skin type. For oily or combination skin, a soft-matte or natural-matte formula can control shine and keep color stable; dry or mature skin often thrives with satin or dewy finishes that reflect light and prevent dullness. Consider coverage strategically: sheer to medium lets your natural tone breathe, often improving the match illusion, while full coverage demands a more exact shade and careful blending. If pores or texture are a concern, reach for blurring primers or formulas with soft-focus pigments to prevent foundation from catching on texture. Test transfer-resistance by gently pressing a tissue after application. Powder, liquid, stick, or serum-like bases each interact differently with skin; what matches on paper may shift as it sets. Prioritize harmony among shade, undertone, and finish so the foundation enhances your complexion without drawing attention to itself.
Prep Skin and Choose the Right Tools
A seamless match relies on proper skin prep. Light exfoliation smooths flakes that can make a correct shade look patchy, while targeted hydration plumps dry zones so pigment lays evenly. Apply a compatible primer—gripping for longevity, blurring for texture, or radiant for dullness—to create an even canvas that preserves true color. Tool choice influences opacity: a damp sponge sheers and diffuses, brushes build coverage with precision, and fingers warm product for a skin-melt effect. Start with thin layers, focusing where you need more evenness, then fade outward to keep the perimeter lighter and natural. Press, don't drag, across textured areas. Blend into the hairline, around the nostrils, and under the jaw to erase edges. Set selectively: a light translucent powder in the T-zone controls shine without flattening the finish, while a fine setting mist melds layers and restores a lifelike sheen.
Wear-Test and Adjust for Real-Life Conditions
True matching extends beyond application. Do a mini wear-test during your normal routine—work, errands, or light activity—to watch for oxidation, settling, or separation. If the shade deepens over time, consider a slightly lighter initial match or switch to a low-oxidation formula. Tackle midday shine with blotting before re-powdering to avoid caking that can distort color. In humid or hot conditions, a breathable, long-wear formula set with micro-fine powder can keep tone consistent; in dry climates, rehydrate with a light mist to prevent dulling. Evaluate how your foundation behaves under different lighting—office, car mirror, evening lamps—to ensure your undertone stays believable everywhere. Subtle tweaks, like a touch of bronzer along the perimeter or a brightening concealer at the center, can rebalance if your face and neck shift slightly. Commit to periodic checks through the day; small, strategic adjustments maintain a flawless, skin-true match.